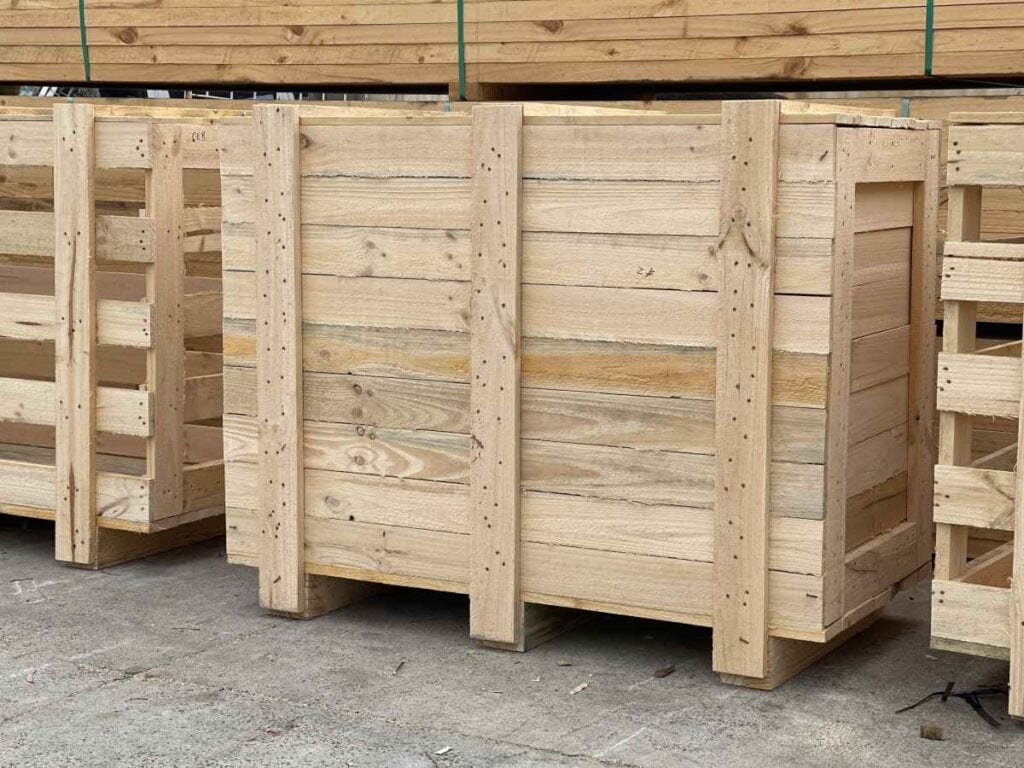
How to Make a Plywood Box: A Step-by-Step Guide
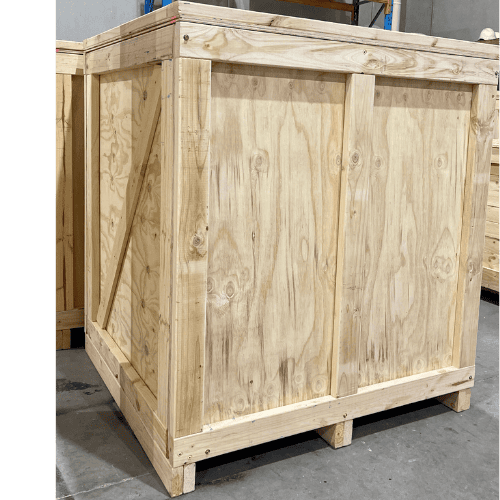
Plywood boxes are a simple yet sturdy solution for storage, shipping, or custom packaging. Whether you're a DIY enthusiast or need a reliable timber packaging option for industrial use, building a plywood box is a practical skill to have.
You can find all the tools and materials needed to build your plywood box at any Bunnings store, across Australia.
This step-by-step guide will walk you through the process of making a durable plywood box, ensuring your project is both functional and secure.
Materials and Tools You’ll Need:
Materials:
- Plywood sheets (thickness depends on intended use, typically 12mm–18mm)
- Wood screws or nails
- Wood glue
- Hinges (if a lid is required)
- Latches or locks (optional)
- Sandpaper
- Wood filler (optional)
Tools:
- Measuring tape
- Circular saw or table saw
- Drill and screwdriver
- Clamps
- Pencil or marker
- Sanding block or power sander
- Paint or wood sealant (optional for finishing)
Step 1: Plan and Measure
Before cutting any wood, determine the dimensions of your plywood box. A typical box consists of six parts:
- Bottom panel
- Top panel (if required)
- Two side panels
- Front and back panels
Use a measuring tape to mark out the dimensions on the plywood sheets. Ensure that the side, front, and back panels fit snugly against the base.
Step 2: Cut the Plywood Panels
Using a circular saw or table saw, carefully cut along the measured lines. To prevent splintering, use a sharp saw blade and consider applying painter’s tape along the cut lines.
Step 3: Assemble the Box Frame
- Apply wood glue along the edges where the side panels meet the base.
- Use clamps to hold the panels in place.
- Secure with wood screws or nails, spacing them evenly (about every 10–15cm).
- Repeat the process for the front and back panels.
Step 4: Attach the Lid (Optional)
If your plywood box requires a lid, follow these steps:
- Cut a piece of plywood to match the top dimensions of the box.
- Sand the edges for a smooth finish.
- Attach hinges on one side using screws.
- Add latches or locks if necessary.
Step 5: Sand and Finish
- Use sandpaper or a power sander to smooth out rough edges.
- Apply wood filler to cover any gaps or screw holes (if desired).
- Finish with paint, stain, or sealant to enhance durability and appearance.
Step 6: Test for Strength and Durability
Before using your plywood box for storage or shipping, check that all joints are secure and the structure is stable. If needed, reinforce with additional screws or corner brackets.
Conclusion
Building a plywood box is a straightforward project that offers endless customization. Whether you're crafting a simple storage solution or a heavy-duty shipping container, following these steps ensures a sturdy and reliable result. If you're looking for professional-grade plywood boxes or custom-built wooden crates, Crate N Pack Solutions has you covered – we nail it every time!
Need Custom Plywood Boxes? Contact Crate N Pack Solutions Today!
Looking for high-quality plywood boxes for shipping, storage, or export? Get in touch with us for custom-built timber packaging solutions that meet your specific needs.

